Hey!
The title sounds cool, right? Well, that's the name given by
Wyne for today's How-To.
Actually, Wyne requested that I created a nail art design for her to wear during her Bollywood themed event next month. The theme color is purple with bling-bling. Now, that's Bollywood alright.
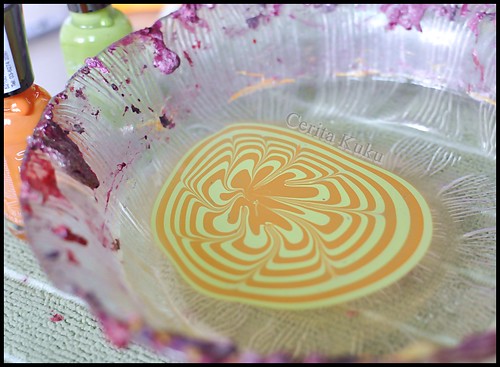
So today, am gonna share with you how I make this gradient purple bling nail design. The method used involves sponging to create gradient.
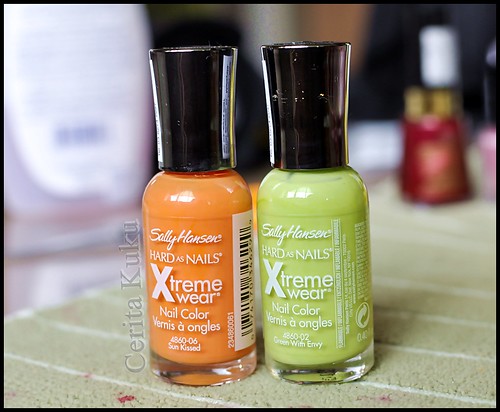
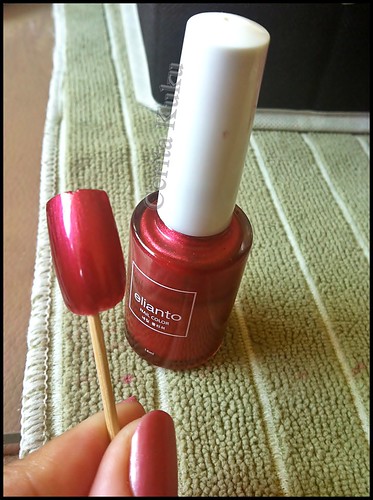
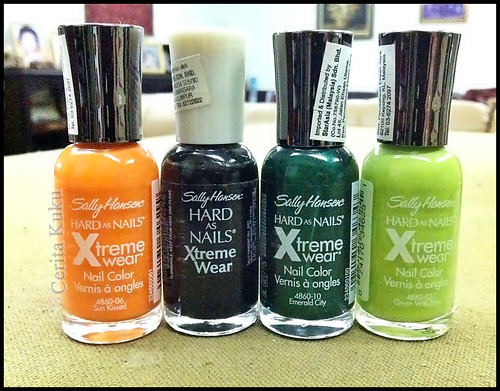
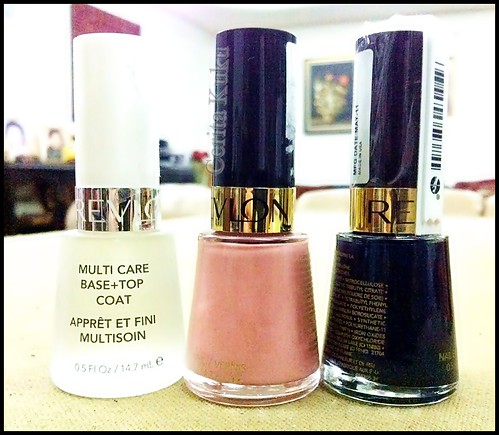
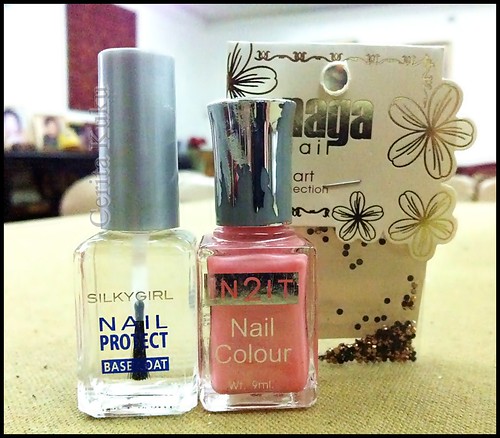
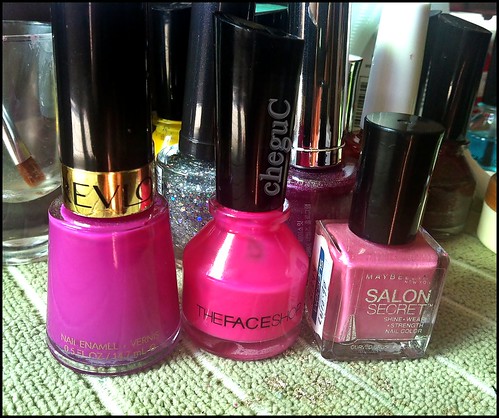
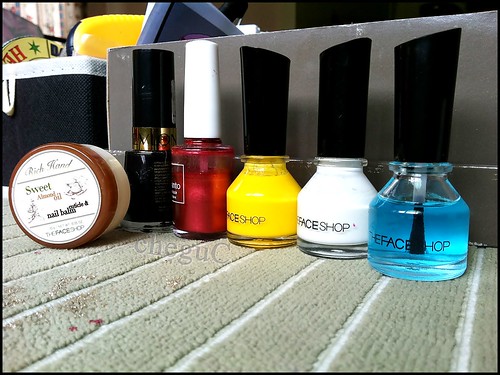
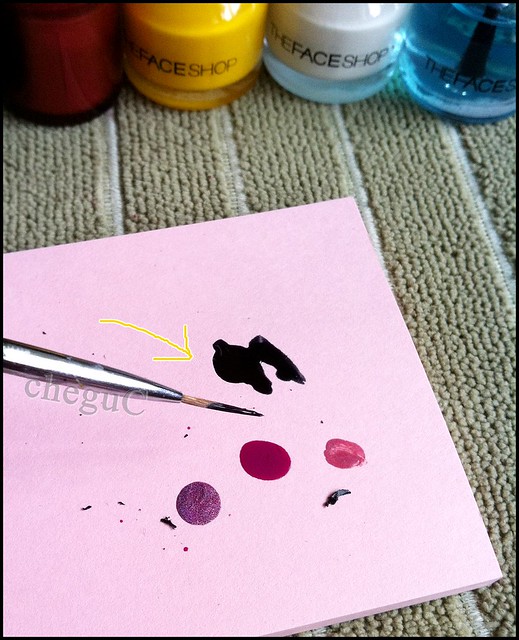
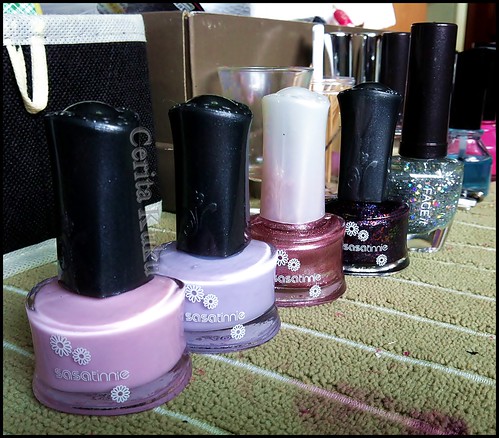
These are the colors I used.
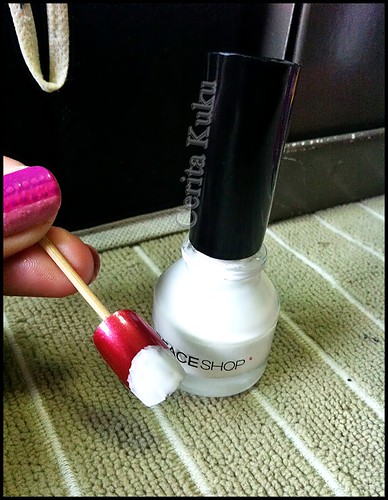
---> Fantasy Color (for sasatinnie) in FCW029, FCW006, FCROS009, FCGL002 and Face
it by TheFaceShop SL211.
.
.
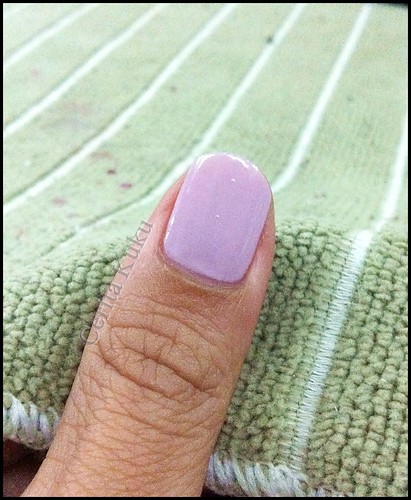
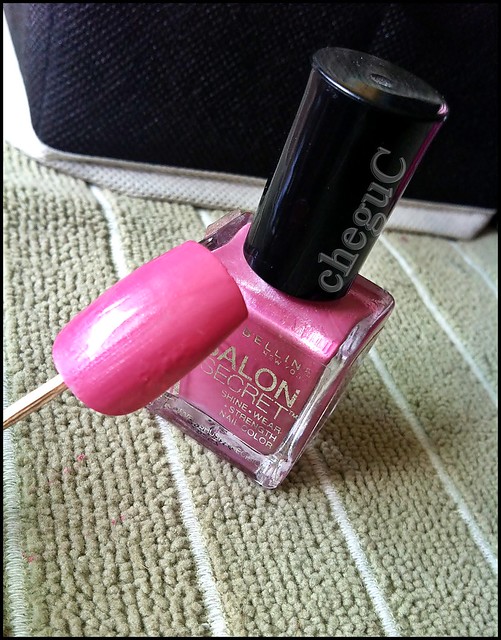
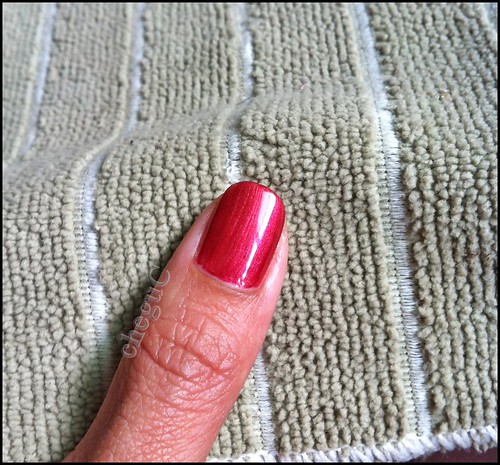
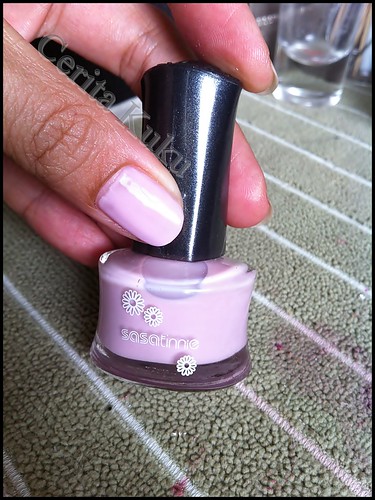
After putting base coat, apply the base color (FCW029). Let to dry completely.
.
.
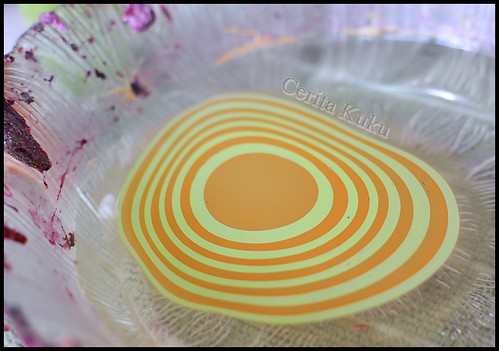
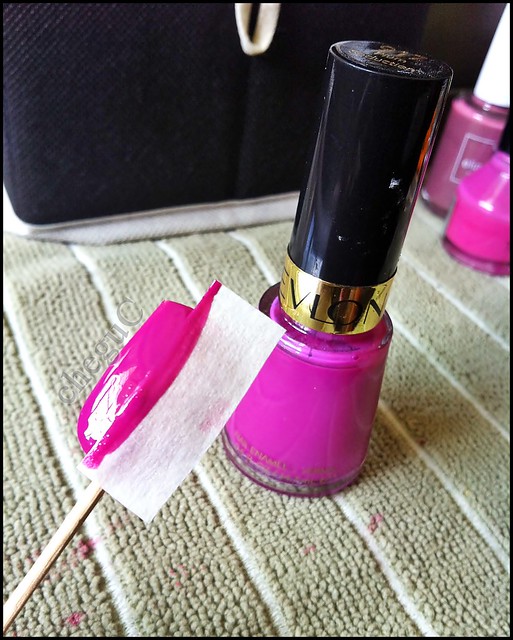
Using a nail sponge (you can use household sponge or make-up sponge too actually), drop some FCW006 on the sponge and dab on the nail, making a gradient. Dry completely.

.
.
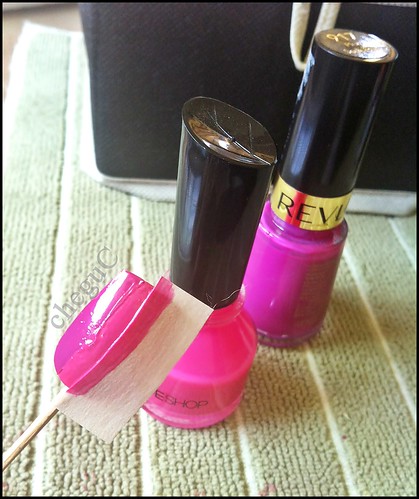
Same method, dab the FCROS009 creating gradient as well.
.
.
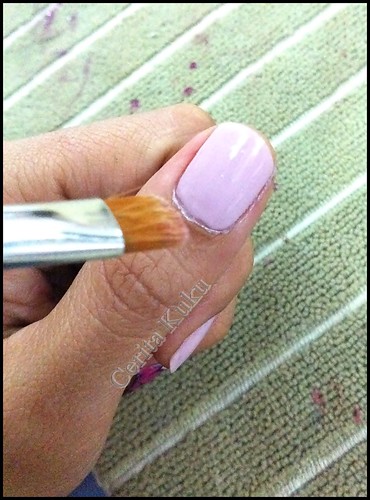
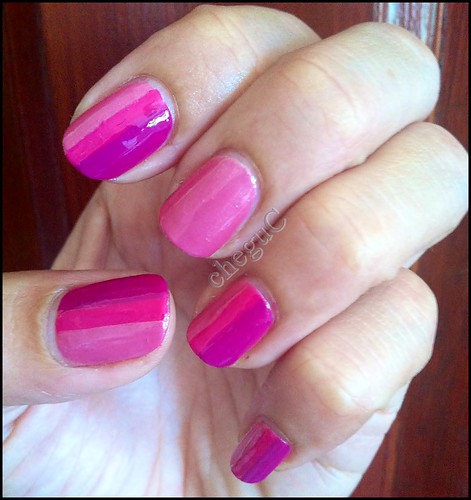
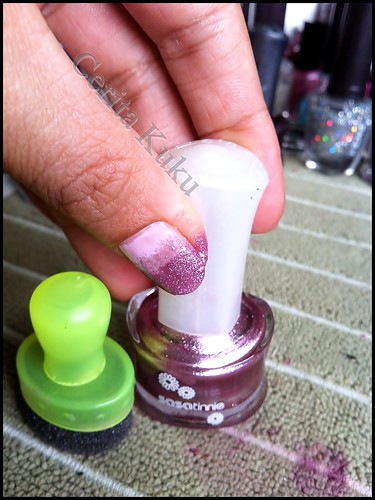
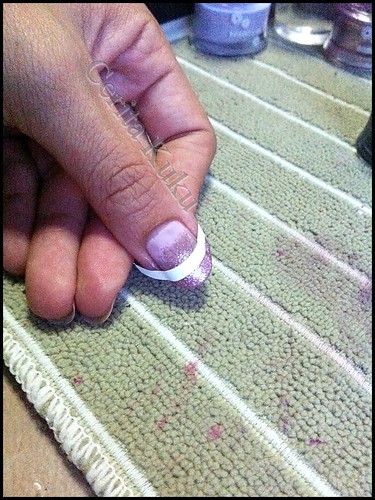
Using a self-adhesive French Manicure tip (mine is by Sally Hansen), paint the tip of the nail using the FCGL002. You can use Scotch tape or masking tape in the absence of the self-adhesive French Mani tip.
.
.
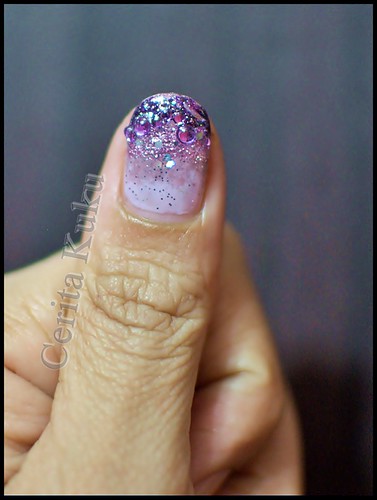
Add on some various size purple rhinestones when the final paint is slightly tacky. Do not wait till dry otherwise it's hard to stick on the rhinestone. You can arrange the rhinestone on straight lines or in my case, I created a slight curves to accentuate the gradient line.
.
.
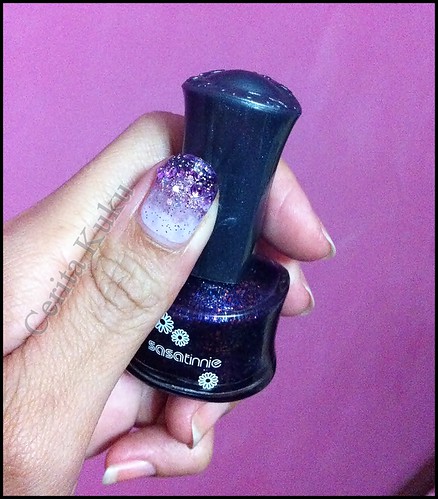
Final step is to apply top coat to seal the rhinestones. In my case, I use glitter nail polish that has the combination of small and medium glitters. Just to add more bling to it.
.
.
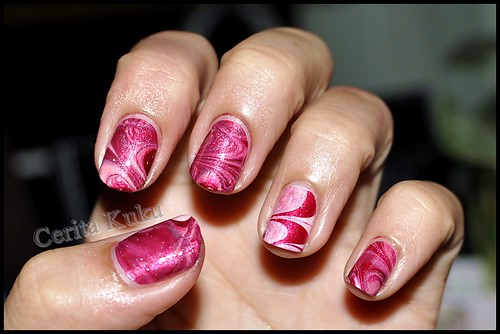
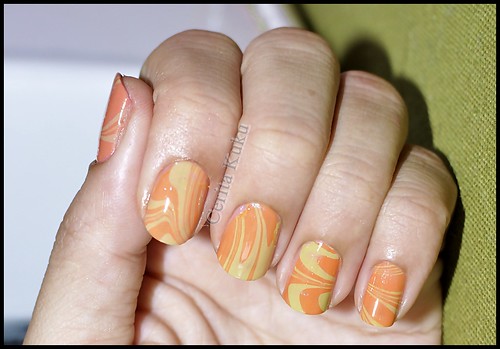
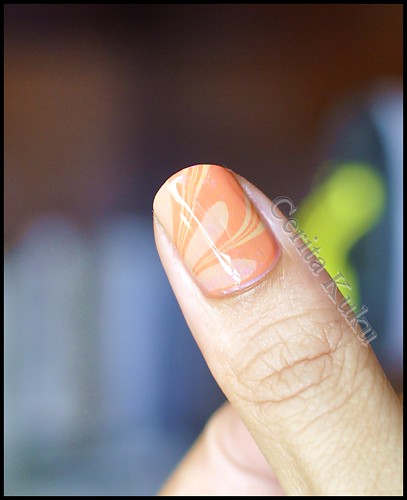
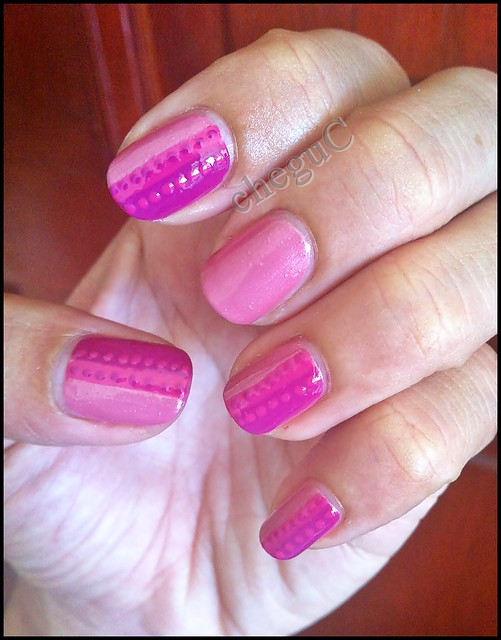
Voila!
Important reminder again, make sure each color is COMPLETELY dry before applying the next one except the final color.
Happy trying girls and Wyne, hope you will have magnificent bling-bling fingers during that night!
*Nail Hug*