Sunday, December 25, 2011

FF: Christmas!

Friday Fingers

Merry Christmas!!!!

I know my FF this week is kinda late. But it's Christmas and there are lots to do during Christmas other than painting nails right? ^__^

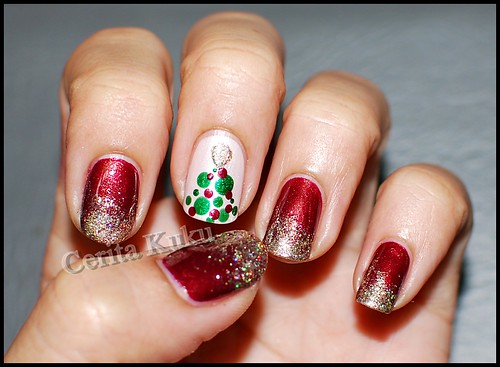
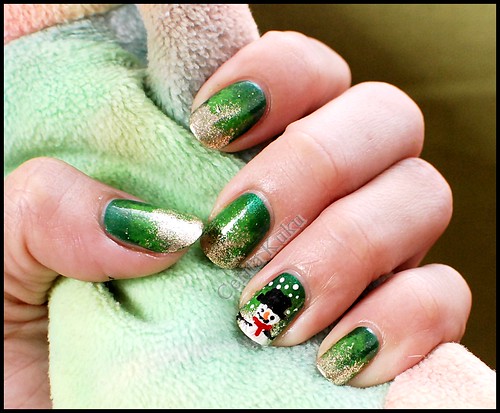
Anyways, just to show my Christmas nail art. Pretty simple cos I didn't have much time to spare since the rest of the family members are here at home for the long holidays and it is so much fun when the house is filled up with noise and laughter from loved ones.

Christmas nail 2011 (1)

Christmas nail 2011 (2)

*nail hug*

Monday, December 19, 2011

FF theme: All about Christmas!

Friday Fingers

6 days to Christmas!
And I'm sure you know what's the theme for our next FF.

All about Christmas!

So yeah, let's bring out our Christmas nail for this coming Sunday, shall we?


How to:

  1. Copy the badge above.
  2. Paste the badge on your FF: All About Christmas post and insert the URL link of this page (FF theme: All About Christmas) on the badge.
  3. Publish your FF: All About Christmas entry.
  4. Come back to my FF Theme post by clicking the banner on your entry.
  5. At the bottom of this page, find 'You next, click to enter'.
  6. Fill up the requirements in Linky Tools form. Make sure to fill the URL of your FF: All About Christmas post.
  7. After you are done, go back to this page again and look for 'get the code'. Copy and paste the code at the bottom of your FF: All About Christmas entry.
  8. We are linked for Friday Fingers!

Ho! Ho! Ho!

*nail hug*

PS:
I extended the closing date since my time is tight with Christmas prep and I believe you too. ^__^


Friday, December 16, 2011

My Stash

Whenever I visit nail art websites, I'm always in awe drooling at these nail bloggers' stashes. Their collection of nail  polish that range from the famous OPI to China Glaze to Orly to Zoya and many more nail polish brands makes me more than eager to have my own collection too.

Last week, I just purchased 5 plastic containers that can be stacked on each other. I couldn't afford to buy proper drawers for my nail stuffs yet so these plastic containers should do for the time being.
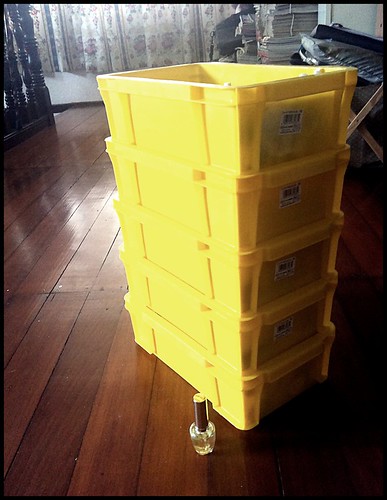
IMG_2504

On the bottom container...
IMG_2507
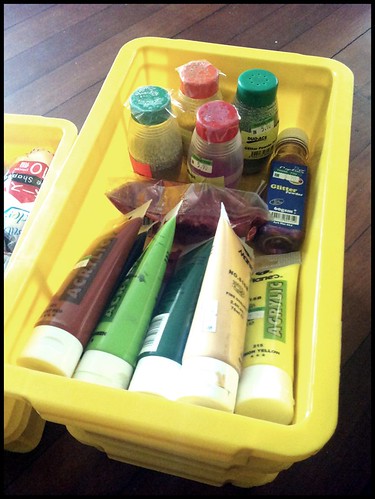
I placed all my acrylic paints and art glitters. I wish that Santa will get me an acrylic paint set this Christmas ^__^

Second from bottom...
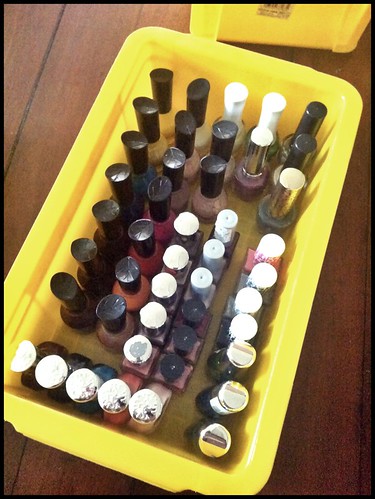
IMG_2502
...nail polishes/cracks from Faceshop, Sasatinie, Eleanor, Maybelline, Silky Girl and Wet & Wild.

3rd from bottom...
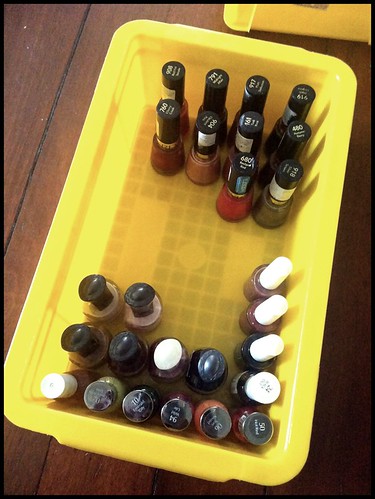
IMG_2501
My Revlon, Sally Hansen and Elianto nail polishes (not including the recent haul from Elianto).

2nd from top...
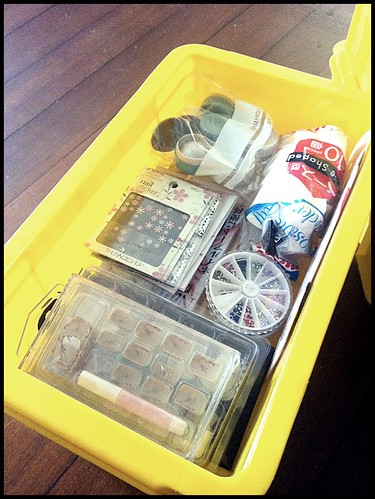
IMG_2506
Rhinestones wheels, nail art stickers, nail art foil, artificial nails and make up sponge.

Top container...
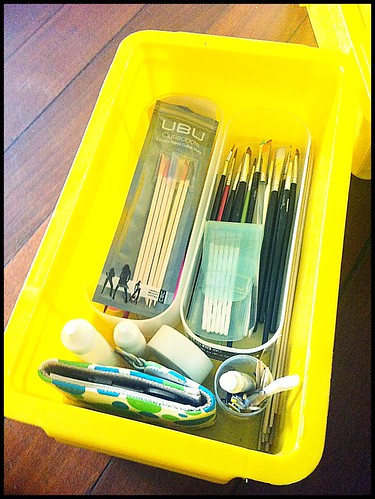
IMG_2505
...all my nail art tools; dotting tools (thanks Lizee), brushes, manicure set (thanks Lizee), cuticle remover, nail glue, orange stick, cuticle clipper and nail buffer.

And finally, my mobile nail art container. But I usually keep all my base and top coats here as well as nail polish remover, polish thinner, facial cotton and toothpicks inside.
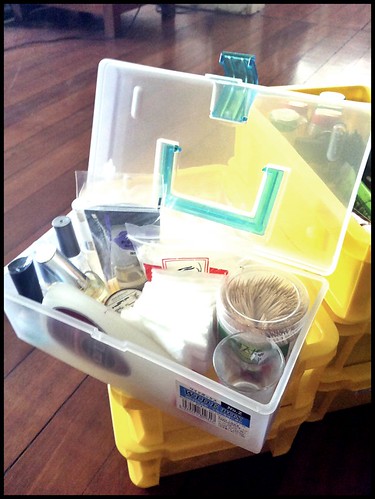
IMG_2508


I am so hoping that I will get at least an OPI nail polish for Christmas to add into my collection bin.  *finger crossed*

Lizee and Edith, are you guys building up (in numbers) nail polishes too now? ^__^

*nail hug*
FF: Tribal print

Friday Fingers

TGIF!
Not that I feel it so much since I AM on holiday till end of the year. ^_^

Anyways, here's my FF for this week.
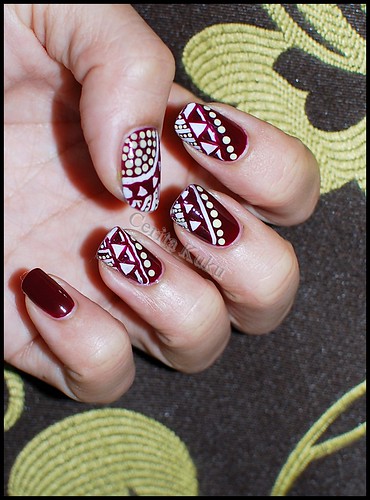
Gotta say, this is the hardest FF so far. I just couldn't get the lines straight and balanced. Wanted to use tape but it will be very time consuming.

Initially, I wanted to incorporate the Aboriginal's art but I couldn't come up with a suitable design. I don't want to end up with having just round/circle design over and over. For now, this will do.

Pardon the not-so-straight lines.
DSC_5187

DSC_5199

Happy weekend ya'all!

*Nail Hug*

Monday, December 12, 2011

How To: Green gradient

Another tutorial on gradient using the sponging technique. I just love sponging. The difference in colors post sponging is really subtle yet you know there's more than one color blended together.

STEPS

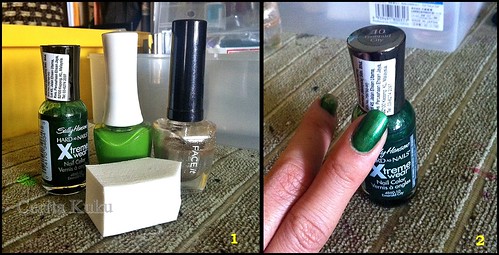
1. Basic things needed for this particular design.
2. After applying base coat, paint the base color. In this case, dark green is the base color.

IMG_2509-horz

3. Blob the second green, much preferable lighter than the base color.
4. Using the make up sponge, dab it on the polish and then dab randomly on the nail. Make sure to leave a little bit of the base color unsponged to create the gradation.
5. Repeat Step 3 and 4 with the gold nail polish.
6. Dab a little more intense on the tip to get the gold color popped out.
page

The finish result!
Green gold gradient (4)

Level of difficulty: 1 of 5

Try and experiment with different colors!

*Nail Hug*