Thursday, August 9, 2012

Stripes Water Marble

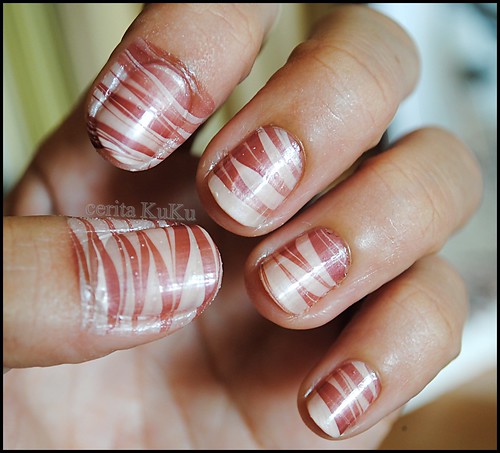
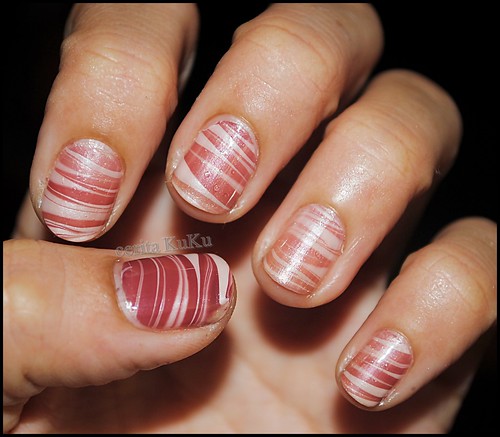
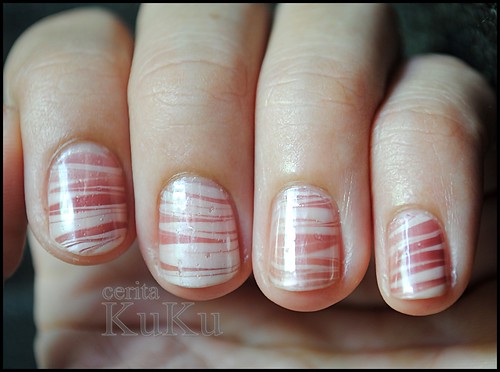
I fell in love with this thin lines water marble the moment I laid eyes on it. I learned the technique from Collete's Youtube tutorial.

It didn't work the first time I did it. The stripes looked too sparse. After thorough learning, I've managed to at least create the thin lines that supposed to make up for this stripes effect. I haven't nailed it yet but I will. Ha!

And I am currently working on a nail art project of my own. It always bogged me that I could not simply wear nail art to work without attracting a few young eyes that eventually causing some kids to try out on their nails as well. Which is of course, not an encouraging thing considering the rule that students cannot paint their nails during schooling days. So I came up with this project to create five nail art designs that are subtle to be worn at work yet pretty enough to be ogled when spotted.

So this is the first design in attempt to complete my Five Nail Art for Work series. I think I have pretty done it well cos one of my colleagues mentioned that she wouldn't notice it if it wasn't because I purposely shoved my nails to her. I know, I know...why on earth paint your nails if you don't intend to show them off. Well, let's get back to the main purpose again...subtle yet with visible vanity. Get it?

Anyways. here are some photos.

Almost there but not quite...
work nail_stripes marble (1)

Re-do all finger nails except the index nails but I got way too much with cleaning, the color along the cuticle end up looking ugly.This photo was taken at night time with flash on.
work nail_stripes marble (2)

Last try...
work nail_stripes marble (3)

Excuse the bubbles on me nails. I have yet to master the art of minimizing bubbles in this water marbling technique.
work nail_stripes marble (4)

work nail_stripes marble (5)

I will definitely try this technique again soonest and with different color combo.

Colors used:
Faceshop BR803 as base
Eleanor ENP005, Eleanor ENP062 for water marbling


Monday, August 6, 2012

My name on it!

Now this is great!
A nail art enthusiast like me and a nail polish named after my name!

I found this nail polish at Polish Art Addiction. Love her blog by the way. She's one amazing nail artist. Her talent in freehand painting is superb.

Now, that Caroline. It comes in purple with blue holographic sparkles. Although I always tell myself that I'm no big fan of purple shades, it always amazes me that when given a choice, I usually ended up with purple shades (besides neutral colors).


I might want to purchase this soon!

Friday, August 3, 2012

Clean Up Eezi video tutorial

Previously, I've shared a pictorial on how to clean up your cuticle post painting. I thought of posting up a simple video tutorial on this one as well.

So here it is.
My apology for the bad lighting in this clip. Hope this tutorial helps nonetheless.


This needs practice just as applying nail polish requires lots of practice to get nicely painted nails without much mess. I agree with most nail artists that the best way to get a perfect painted nails still lies in the skill of applying nail polish on nails so that you will get neater painted nails without worrying much about cleaning the mess.

So yeah, practice away!

Wednesday, August 1, 2012

Gradient, gradient!

My nails are all very short at the moment. It will take at least a week or two to get them grow to a length that is just nice for nail painting. So, while mine are bare, I work my hands on others instead.

Sister in-law was in town last weekend and she was the perfect candidate to satisfy my fix for nail painting. And she opted for gradient. IMHO, gradient is one of the easiest nail art and the quickest to dry. I was more than happy to do gradient on her nails.

For her event, she wanted something bright. She personally had her eyes the OPI Niki Minaj collection and finally chose Did It On 'Em for her first nail art. I used another darker green from Oroloy since that is the only green shade I have that can mix well with Did It On 'Em's intense 'brightness'.

392207_10151020555463600_1090816761_n

Colors used:
OPI Did It On 'Em as base
Oroloy Dark Green

For her second nail art, she wanted something subtle. Something that is easy at work, yet still catchy to the eyes. Again, she wanted gradient. So I did gradient on her nails leaving only the ring fingers as accent nail. On the accent nail, I painted poppy flowers (again!).

278680_10151020465583600_888538838_o


Colors used:
OPI Play The Peonies as base
OPI Brisbane Bronze
Acrylic paint for poppy flowers

She's happy.
I am happy too!
^__^


Sunday, July 29, 2012

Poppy Love

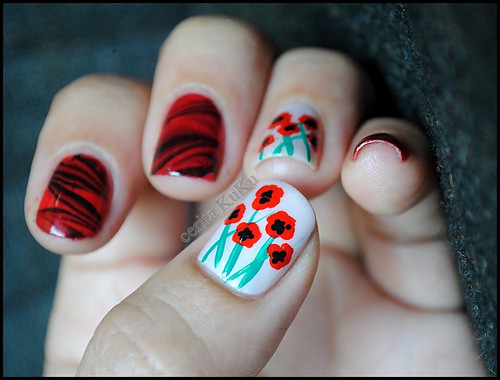
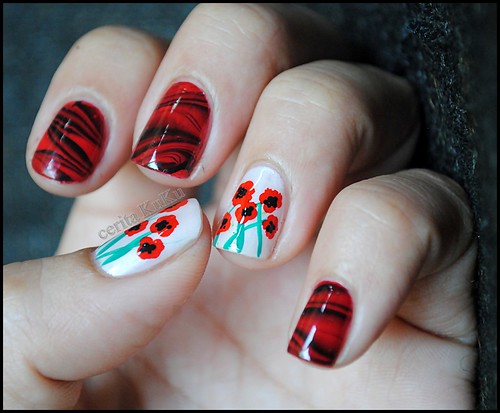
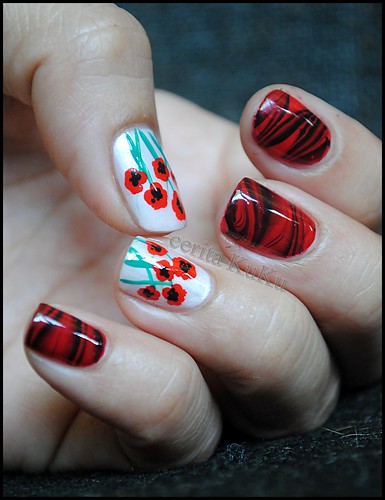
I was thinking of doing flower nail art but since I've done daisies, gerberas and cherry blossoms...I need other flowers. Orchid came to mind. But just as I started to draft a design, poppy popped up.

And poppy it is!

Poppy Marbled (1)
It wasn't difficult to paint poppy flowers. All you need are dotting tool and a striping brush. That's all. ^^

Poppy Marbled (5)
Initially, I wanted to do lines water marble but my Sally Hansen Black Out didn't cooperate with me. At third dropping, the polish just didn't want to spread out properly. I only managed to drop a few polishes and created about 4-6 rings of colors, which is not enough.

Poppy Marbled (8)

Ah well, will try again with the lines water marble sooner. I've just got back from Sasa to re-stock my Eleanor nail polishes in various colors!

Colors used:
Revlon Red Hot Tamale 908 (water marble)
Sally Hansen Black Out (water marble)
OPI Play the peonies (accent nail base)
Acrylic paint